Create GIF video for Forest Fire Model
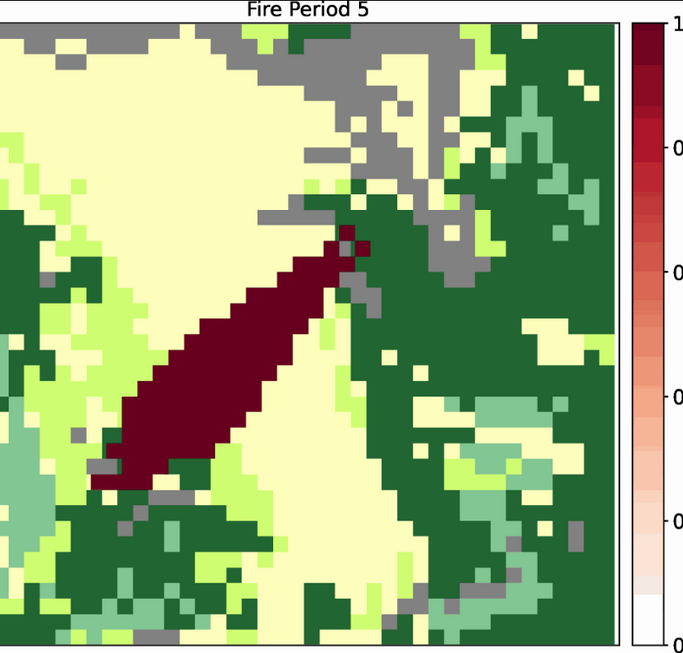
We can create a short movie of files plots and observe the trends of the images. After running the simulator of the Cell2Fire project, we obtain several plots as outputs and store them in one directory. We need to find the path to this directory first. For example, if we claim the the path of the output images to be the following (this is where the output pictures are stored): .. code-block:: html
- linenos:
cd Cell2Fire/results/Sub40x40/Plots/Plots1
Here are the specific steps about how to generate a gif file from the outputs.
Steps to convert images to the form of .gif files:
For example, The path to reach the python file gif.py to generate the short movie is the following: .. code-block:: html
- linenos:
Cell2Fire/cell2fire/utils/gif
When we run the gif.py file, it combines several .png files together in sequence to generate a short “movie”.
The command line of generating the short movie is formed by three parts: run gif.py + path of the location of the pictures + path of the desired location of the output which means the user need to call up the python file and input the location where the pictures they want to generate the short movie, and set the name of the generated output by writing down the path to it.
Consider the location of the pictures as
1Cell2Fire/results/Sub40x40/Plots/Plots1
In this case, we want to name the generated gif file to be gen_output.gif and store it in the same directory as the pictures, we have:
1 Cell2Fire/results/Sub40x40/Plots/Plots1/gen_output.gif
the command line should be like the following form:
1python -m cell2fire.utils.gif Cell2Fire/results/Sub40x40/Plots/Plots1 Cell2Fire/results/Sub40x40/Plots/Plots/gen_output
We can check that in the folder and open it.

The gif file can be opened to see the animation.